Have you ever wondered how tight should your chainsaw chain be?
Your chainsaw chain should be tight enough that it fits snugly against the bar, and you shouldn’t be able to pull the drive links out of the bar groove. However, it shouldn’t be so tight that the chain can’t move freely around the bar.
Hey, I’m Sam, and I’ve been messing around with chainsaws & trying out different chain tensions for more than two decades now!
In this article, I’ll chat about –
- ✅ Why having the “right” chain tension matters,
- ✅ How to figure out if your chain is snug enough,
- ✅ And some tricks to keep that chain tight for the long haul.
So, stick around and read on till the end!
Table of Contents
ToggleWhy is Proper Chain Tension Important?
Well, a loose chain is not good for your chainsaw!
- It reduces the efficiency of your saw, resulting in poorer cuts.
- It can cause your chain to jump off the bar & tear off the drive links.
- You might also end up damaging your guide bar & sprocket.
- Worse yet, the chain might derail, whip around, and potentially hit you in the face or arms. (Just imagine how brutal that would be!)
Guess what?
Having a chainsaw chain that’s too tight can actually lead to more problems. For example –
- Increased Friction & Vibration: An over-tightened chain creates more friction & vibration during cutting.
- Bar Damage: It heaps pressure on the bar rails, potentially damaging your guide bar.
- Difficulty Cutting Hardwoods: Cutting through hardwoods becomes a challenge, and the chain is more prone to getting pinched. (Check out this article to avoid your chainsaw from pinching)
- Overheating: The extra tension produces additional heat, causing your chainsaw to smoke.
- Premature Wear: Moreover, an overly tight chain puts undue pressure on the tip & bottom of your bar, and causes premature wear on the drive sprocket.
In simpler words, whether your chain is too tight or too loose, it can be a RISKY business. That’s why getting the tension just right is absolutely necessary!
Signs that Your Chainsaw Chain is Loose
As mentioned earlier, a loose chain can lead to a TON of issues. But how do you figure out if your chain is loose?
Well, here are 5 easy-to-spot signs: 👇
- Your chain keeps popping off the bar.
- Your saw cuts crooked. (Read this article where I’ve discussed it in more detail)
- Your saw kick backs or becomes hard to control during operation.
- Your saw produces a lot of noise while cutting.
Signs that Your Chainsaw Chain is Too Tight
Now, let’s talk about the flip side!
Signs that your chainsaw chain might be too tight: 👇
- Your chain won’t move freely around the bar (check out this article to learn more!).
- You notice premature wear marks on the drive sprocket, bar rails, and bar nose sprocket.
- Your saw gets extremely overheated & produces smoke while cutting.
- Your saw vibrates extensively & gets hard to control.
- You saw doesn’t pull itself into the cut. (Learn More: Why isn’t My Chainsaw Cutting?)
How Tight Should Your Chainsaw Chain Be?
When it comes to how tight a chainsaw chain should be, there’s actually no strict written rule!
If you ask five different people, you’ll probably get five different answers. However, a generally accepted rule of thumb is:
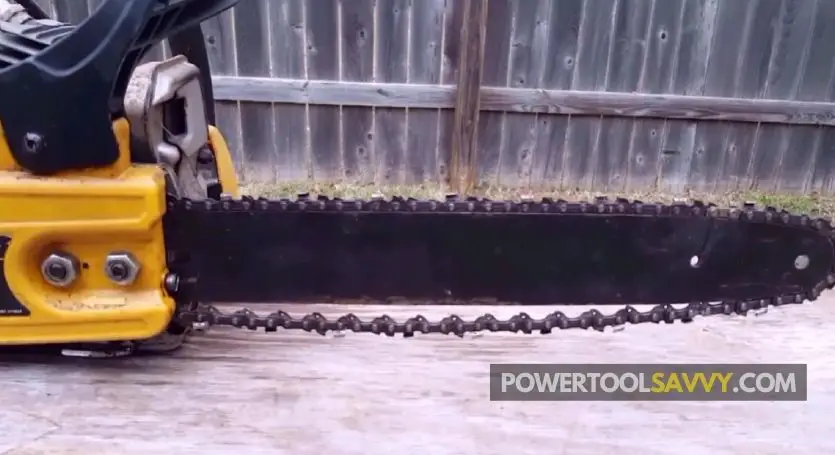
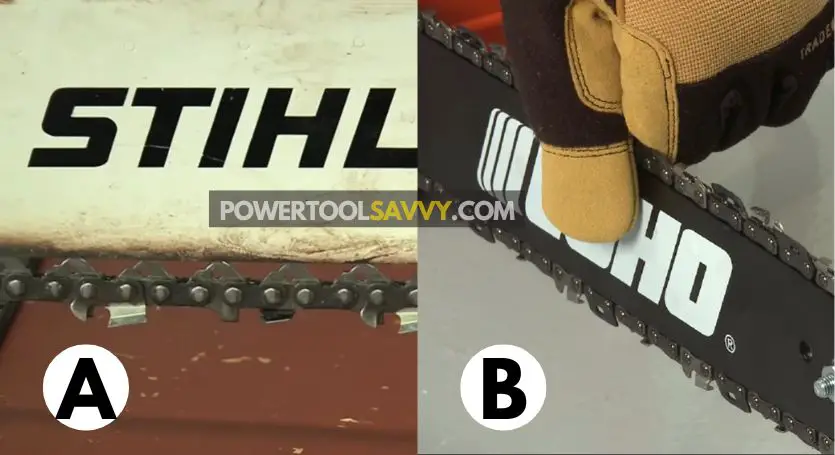
Your chainsaw chain should strike a balance; it shouldn’t be so loose that it sags at the bottom of your bar (A), nor should it be so tight that you struggle to pull the chain around the bar (B).
PRO TIP: For sprocket-nose guide bars, it’s recommended to have slightly tighter chain tension compared to hard-nose guide bars. Otherwise, you may notice premature wear on the bar as well as the chain.

How to Check If Your Chain is Tight Enough?
Well, there’s a COOL way to check if your chain is tight enough and it’s called the “snap test“.
Here’s how you do it: 👇
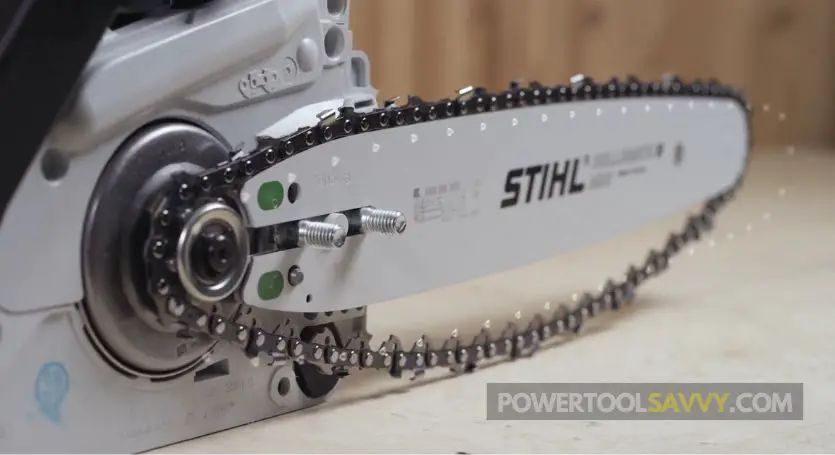
GRAB the chain at the bottom of your guide bar with your forefingers and pull it away from the bar rails. (NOTE: Be sure to wear protective gloves 🧤)
For a hard-nose bar, about 3/4 of your chain drive links should come out of the bar groove and SNAP back with a moderate force.
And if it’s a sprocket-nose bar, you should be able to pull out around 1/8″ (approximately 3mm) of your chain drive links.
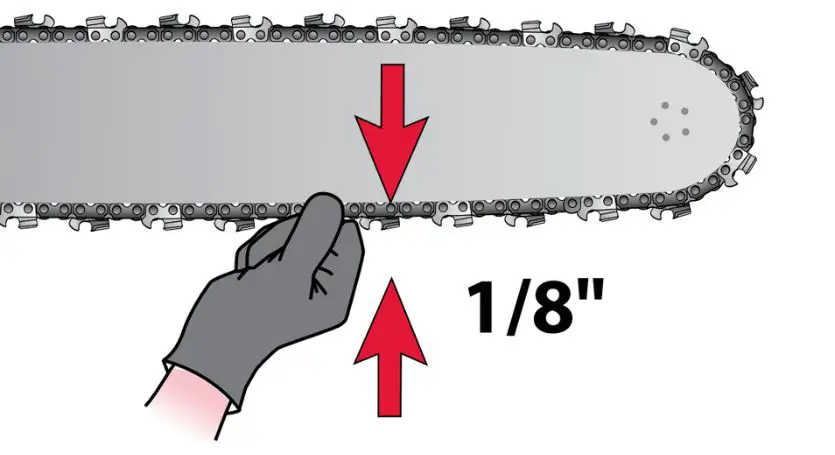
Image Courtesy: Oregon
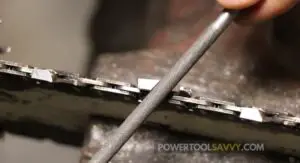
There’s another method that I often use.
Take a screwdriver and use it to pull the chain around the guide bar.
- If you feel a lot of resistance or the chain doesn’t move at all, it means the chain is too tight and needs to be loosened a bit.
- If the chain moves without much resistance (but doesn’t sag below the guide bar), it means the chain is properly tensioned.
To learn more, read this article where I’ve discussed how often do chainsaw chains need to be tightened.
Why Does My Chain Keeps Coming Loose?
Well, if your chain keeps coming loose, it could be due to a a lot of reasons.
Here are a few common ones that could be causing the issue. 👇
- You might be tightening the chain wrong. (No worries, I’ll show you how to do it the right way in the next section!)
- The chain has stretched out too much.
- The drive sprocket has worn out.
- The bar nuts are loose.
- The chain tensioner might be damaged.
- You’re using the wrong sized chain for your saw.
Check out this article where I’ve explained these causes & how you can fix them!
Step-by-Step Process to Tighten a Chainsaw Chain
Well, Here’s a quick guide on how to tighten a chainsaw chain: 👇
- Make sure the engine is OFF.
- Let the chain COOL down first. (This is because chainsaw chains expand when they’re hot.)
- Use the scrench tool to slightly loosen the bar nuts, allowing the tip of the bar to move up & down a bit.
- Lift the tip of the bar and then tighten the tensioner screw until the chain is nice & snug against the bar.
- Make sure there are no “kinks” in the chain by pulling it out from the bar and letting it go.
- Check the tension again (you should be able to pull the chain around freely, but it shouldn’t hang down at the bottom of the bar!).
- If everything looks OKAY, tighten the bar nuts while holding the tip of the bar up.
Chainsaw Chain Tensioning Mistakes to Avoid
Here are a few common mistakes people often make when adjusting the chain tension. I made these mistakes too when I was learning: 👇
- ❌ Tightening the chain when it’s hot: Chains expand when they’re hot, so if you adjust the tension when it’s warm, it might become too tight when it cools off.
- ❌ Tightening the chain with the engine on: Always turn off the engine before adjusting the chain tension. It’s not safe to do it while the engine is running.
- ❌ Touching the chain with bare hands: Chains are sharp, so be sure to wear protective gloves when adjusting the chain tension.
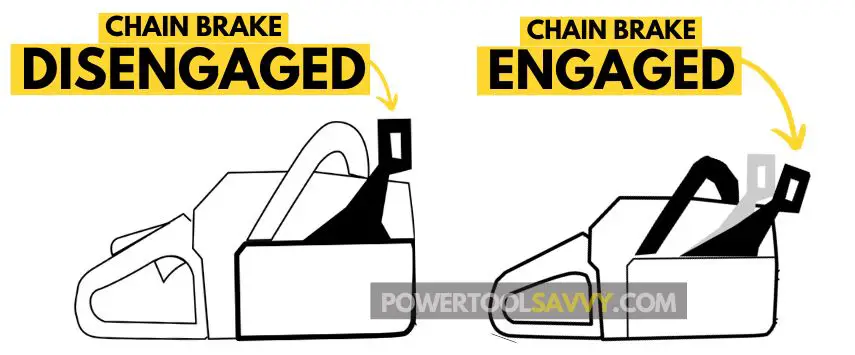
- ❌ Tightening the chain with the chain brake engaged: Avoid adjusting the chain tension when the chain brake is engaged. Doing so could damage both the chain & the saw.


Pingback: Chainsaw Chain Keeps Coming Off? Here's How to FIX It!
Pingback: Chainsaw Not Cutting? Here's How to Get It BACK in Top Form!
Pingback: Chainsaw Cutting Crooked? Here's How to Get Straight Cuts!