There’s seriously nothing more annoying than this!
You get a brand new chain, and then it turns out it’s way too long.
So, can a chainsaw chain be shortened?
Yes, chainsaw chains can be shortened. There are tools like chainsaw chain breakers and spinners that allow you to shorten the chain. It involves punching out the rivets and removing one or more of the drive links to make the chain shorter.
However, it’s NOT that easy! You have to be extremely careful not to break or damage the chain.
But don’t WORRY!
I’ve over 20 years of experience in this field, and in this article 👇, I’m going to show you how to shorten a chainsaw chain the RIGHT WAY.
Are you READY?? Let’s get started…
Table of Contents
ToggleHow to Shorten a Chainsaw Chain?
As you’ve learned – It’s POSSIBLE to shorten a chainsaw chain.
But how? 🤔
Well, that’s what this section is all about!
Before You Begin!
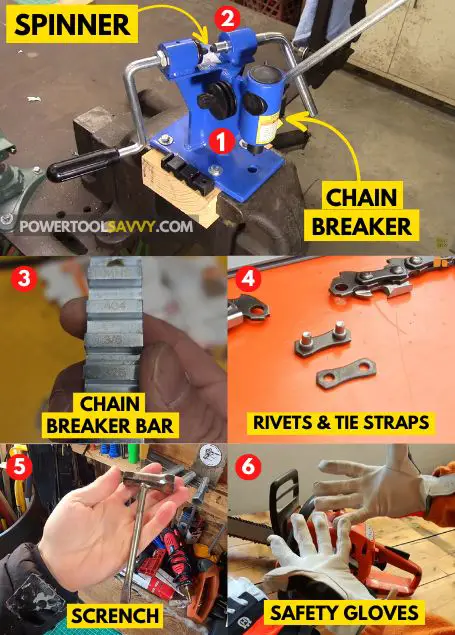
Before you JUMP right into the process, you need to gather the following materials: 👇
- A chainsaw chain breaker,
- A spinner,
- A chain breaker bar,
- A couple of tie straps and chain rivets,
- A scrench, and
- Safety gloves.
Once you have all these items, it’s time to get STARTED.
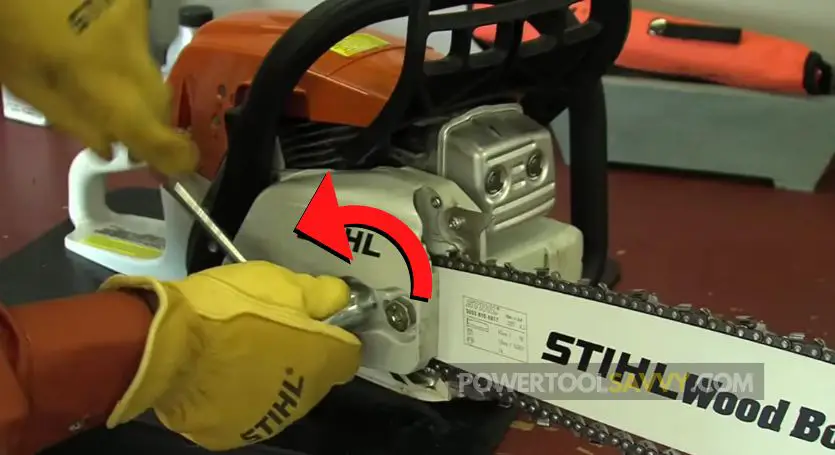
Step 1: Remove the Chain from Your Chainsaw
First of all, you’ll need to remove the chain from your chainsaw. (already did? Move to the next step. You’re ahead of the GAME!)
- Loosen the chain a bit!
- Loosen the bar nuts using your scrench.
- Take the clutch cover off.
- And then, remove the bar and gently pull off the chain.
That’s it!
Step 2: Place Your Chain Into the Chain Breaker Bar
The chain breaker bar should have multiple groove sizes for different chain pitches.
(Here’s how it should look: 👇)

So, depending on your chain’s pitch, pick the right groove and place your chain in it. Make sure your chain sits securely. (it’s IMPORTANT!).
And make sure the rivets (those metal links that hold the chain together) are facing upwards.
For example, I’m using a 3/8″ low profile chain for this process. So, I’ll go with the 3/8 marked groove.
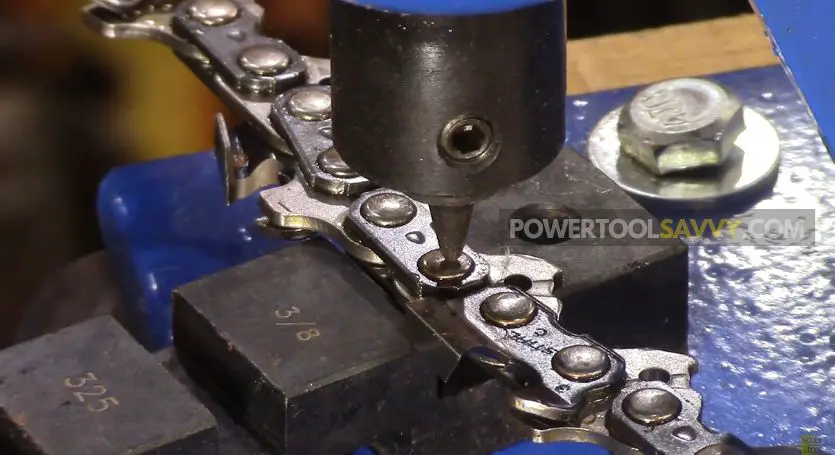
Step 3: Place the Bar and Chain Under the Chain Breaker and Punch Out the Rivets
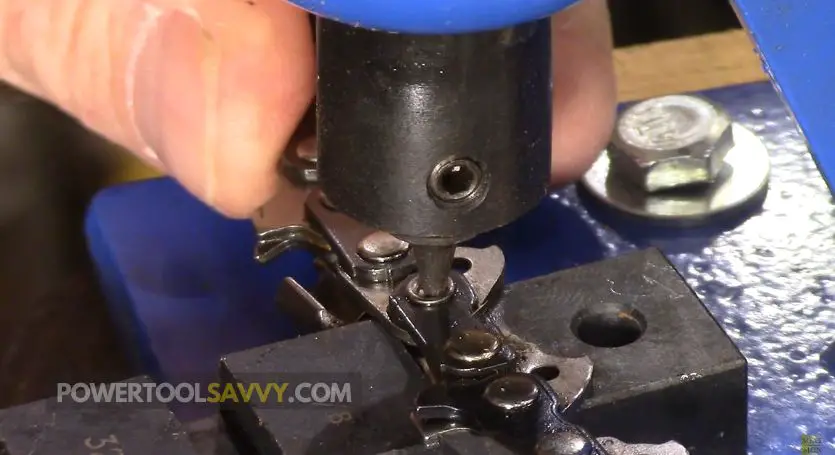
Next up, slide the bar along with the chain under the chain breaker.
Make sure the rivet you want to punch out aligns with the pin on your chain breaker (as shown in this image 👇).
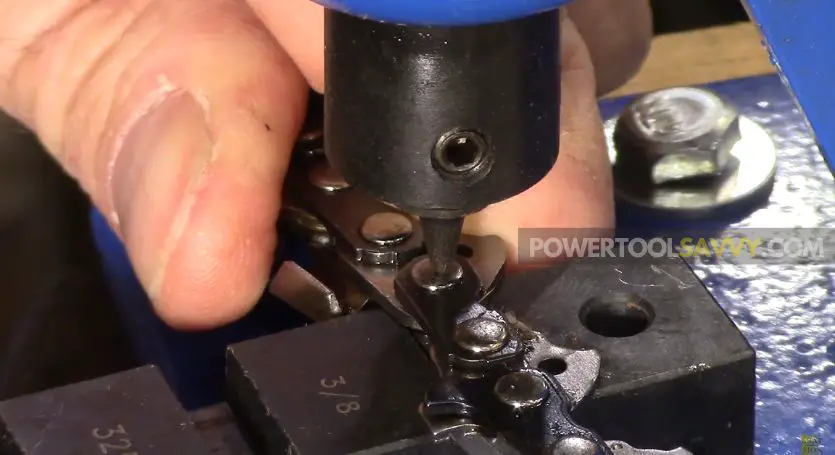
Once you’ve got it lined up correctly, give the handle of the chain breaker a good tug to punch out the rivet. You might hear a satisfying “punch” sound.
Now, figure out how many drive links you want to remove from your chain and start popping those rivets.
For example, if you want to shorten your 78 drive links chain by 2 drive links, you’ll need to punch out the rivet on the 76th link.
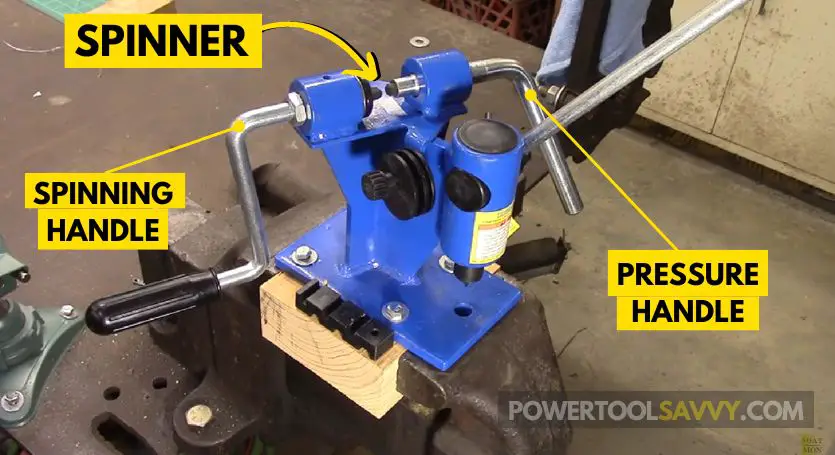
Step 4: Use the Spinner to Rejoin the Chain
When you’re DONE ✅ removing the desired number of drive links, it’s time to get this chain together.
And for that , you’ll need the SPINNER! 👇
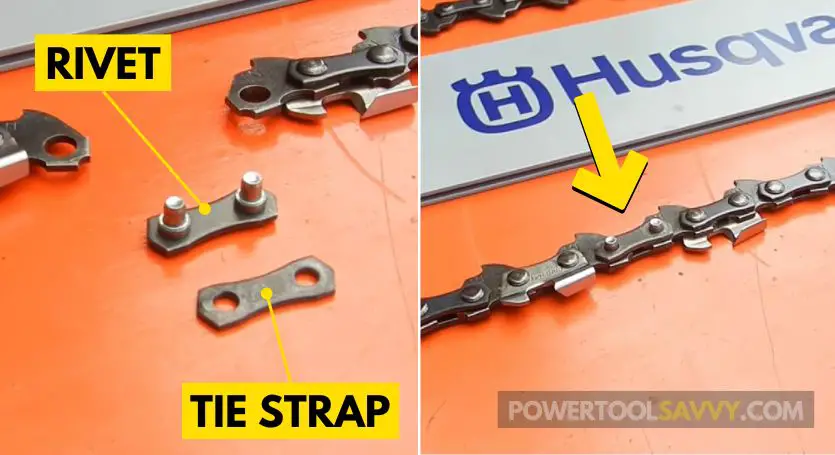
But before diving into that, grab a FRESH rivet & a tie strap, and connect both ends of the chain. (Here’s how it should look:)
Now, follow these steps:
1. Place the chain into the spinner, aligning the pins (make sure those rivets are facing forward).
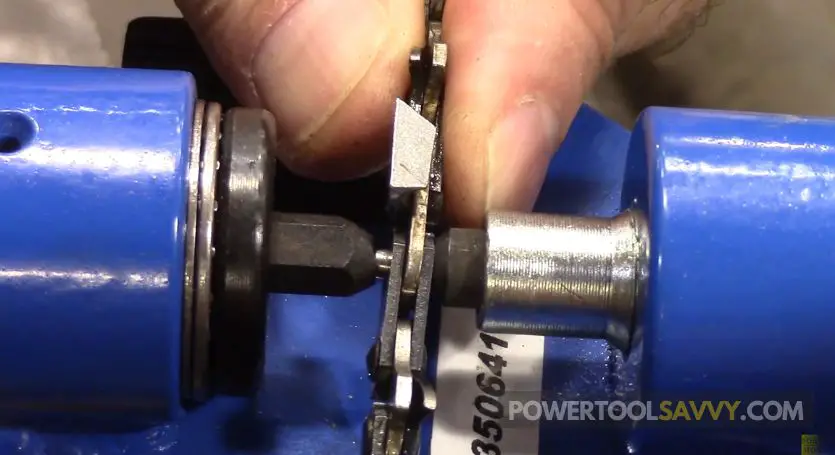
2. Twist the pressure handle of the spinner until the chain stays tightly in place.
3. While you’ve got that pressure handle locked with one hand, give the spinner a spin with the other.
4. Keep on spinning until that rivet becomes nice and ‘mushroomed.’
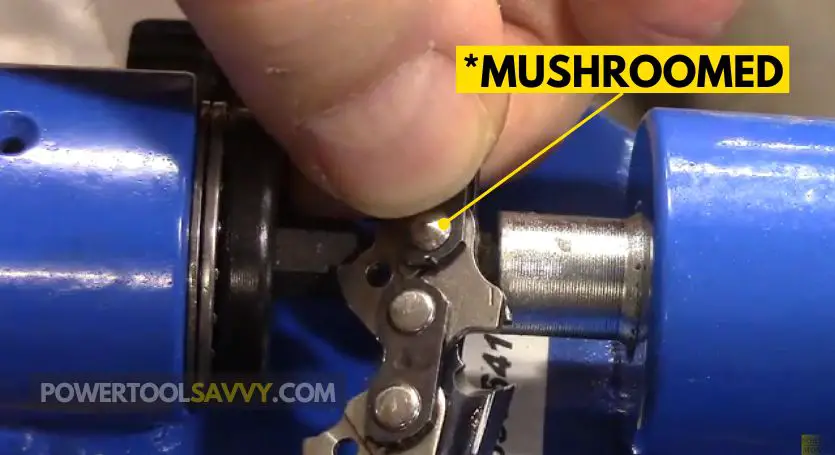
5. Do the same with the other rivet.
Step 5: Put the Chain Back Into Your Chainsaw
Now that you’ve got your chain all nice and trimmed, it’s time to put it back into your chainsaw.
- Fit the chain around the bar and make sure those drive links are snug in place.
- Make sure the chain is not on backward. (Read this article if you don’t know what’s the CORRECT direction for a chainsaw chain)
- Tighten the bar nuts using the scrench.
- Finally, adjust the chain tension.
And you’re all SET! ✅
How Much Does It Cost to Shorten a Chainsaw Chain?
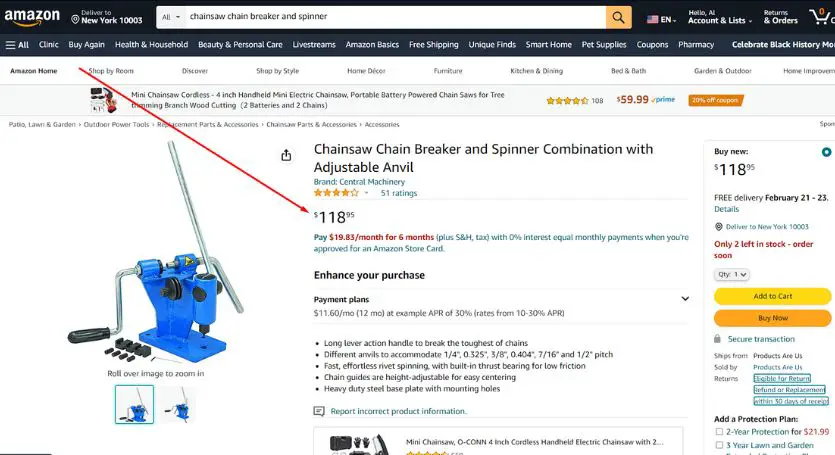
If you choose to have your chain shortened by a professional service, it might cost you around $20. But if you prefer the DIY approach, you’ll require a chain breaker and a chain spinner tool, typically ranging in cost from $100 to $200.
But does it woth it?
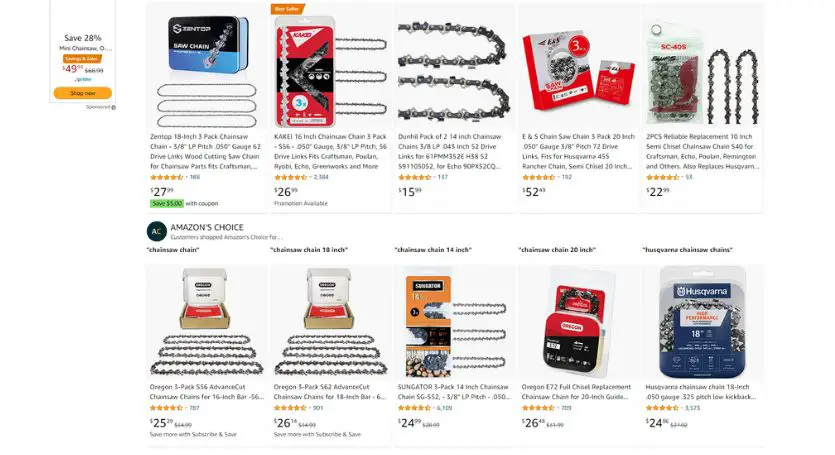
Well, if you’re a casual chainsaw user, it’s likely NOT worth it, even if you have a professional shorten your chain. You could easily replace your chain with a shorter one for less than $20.
However, I personally own a chain breaker and spinner because I purchase chainsaw chain rolls in BULK and make my own chains.
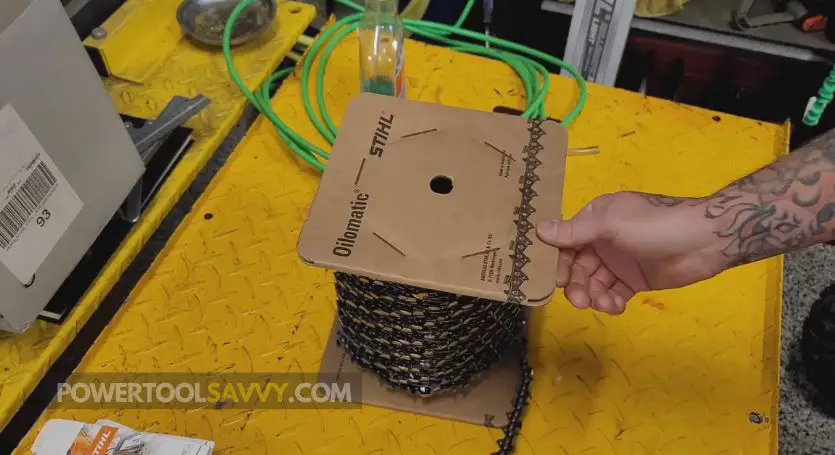
This way, I can save some money and get the EXACT size I need. (I even sell the chains I make on eBay!)
So, if you’re like me, investing in those tools is probably the BEST choice you can make.
But other than that, I wouldn’t recommend buying those expensive tools just to shorten one or two chains.
And if you don’t want to pick the wrong chain again, check out this article where I’ve explained how to choose the right chain for your chainsaw!
GoodBye Words!
That’s all for today!
Hopefully, this article covers everything you wanted to know about shortening a chainsaw chain.
If anything seems confusing or difficult, don’t hesitate to leave a comment below. I’ll be more than happy to HELP you out!
Thanks for reading, and until next time!
Happy sawing!